
Cart 2 india
In2Cart
Rs. 0
0


Product Information
Specification
Brand : Powerbuilt
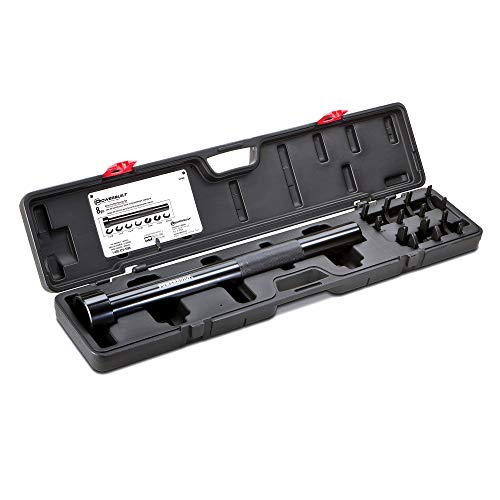
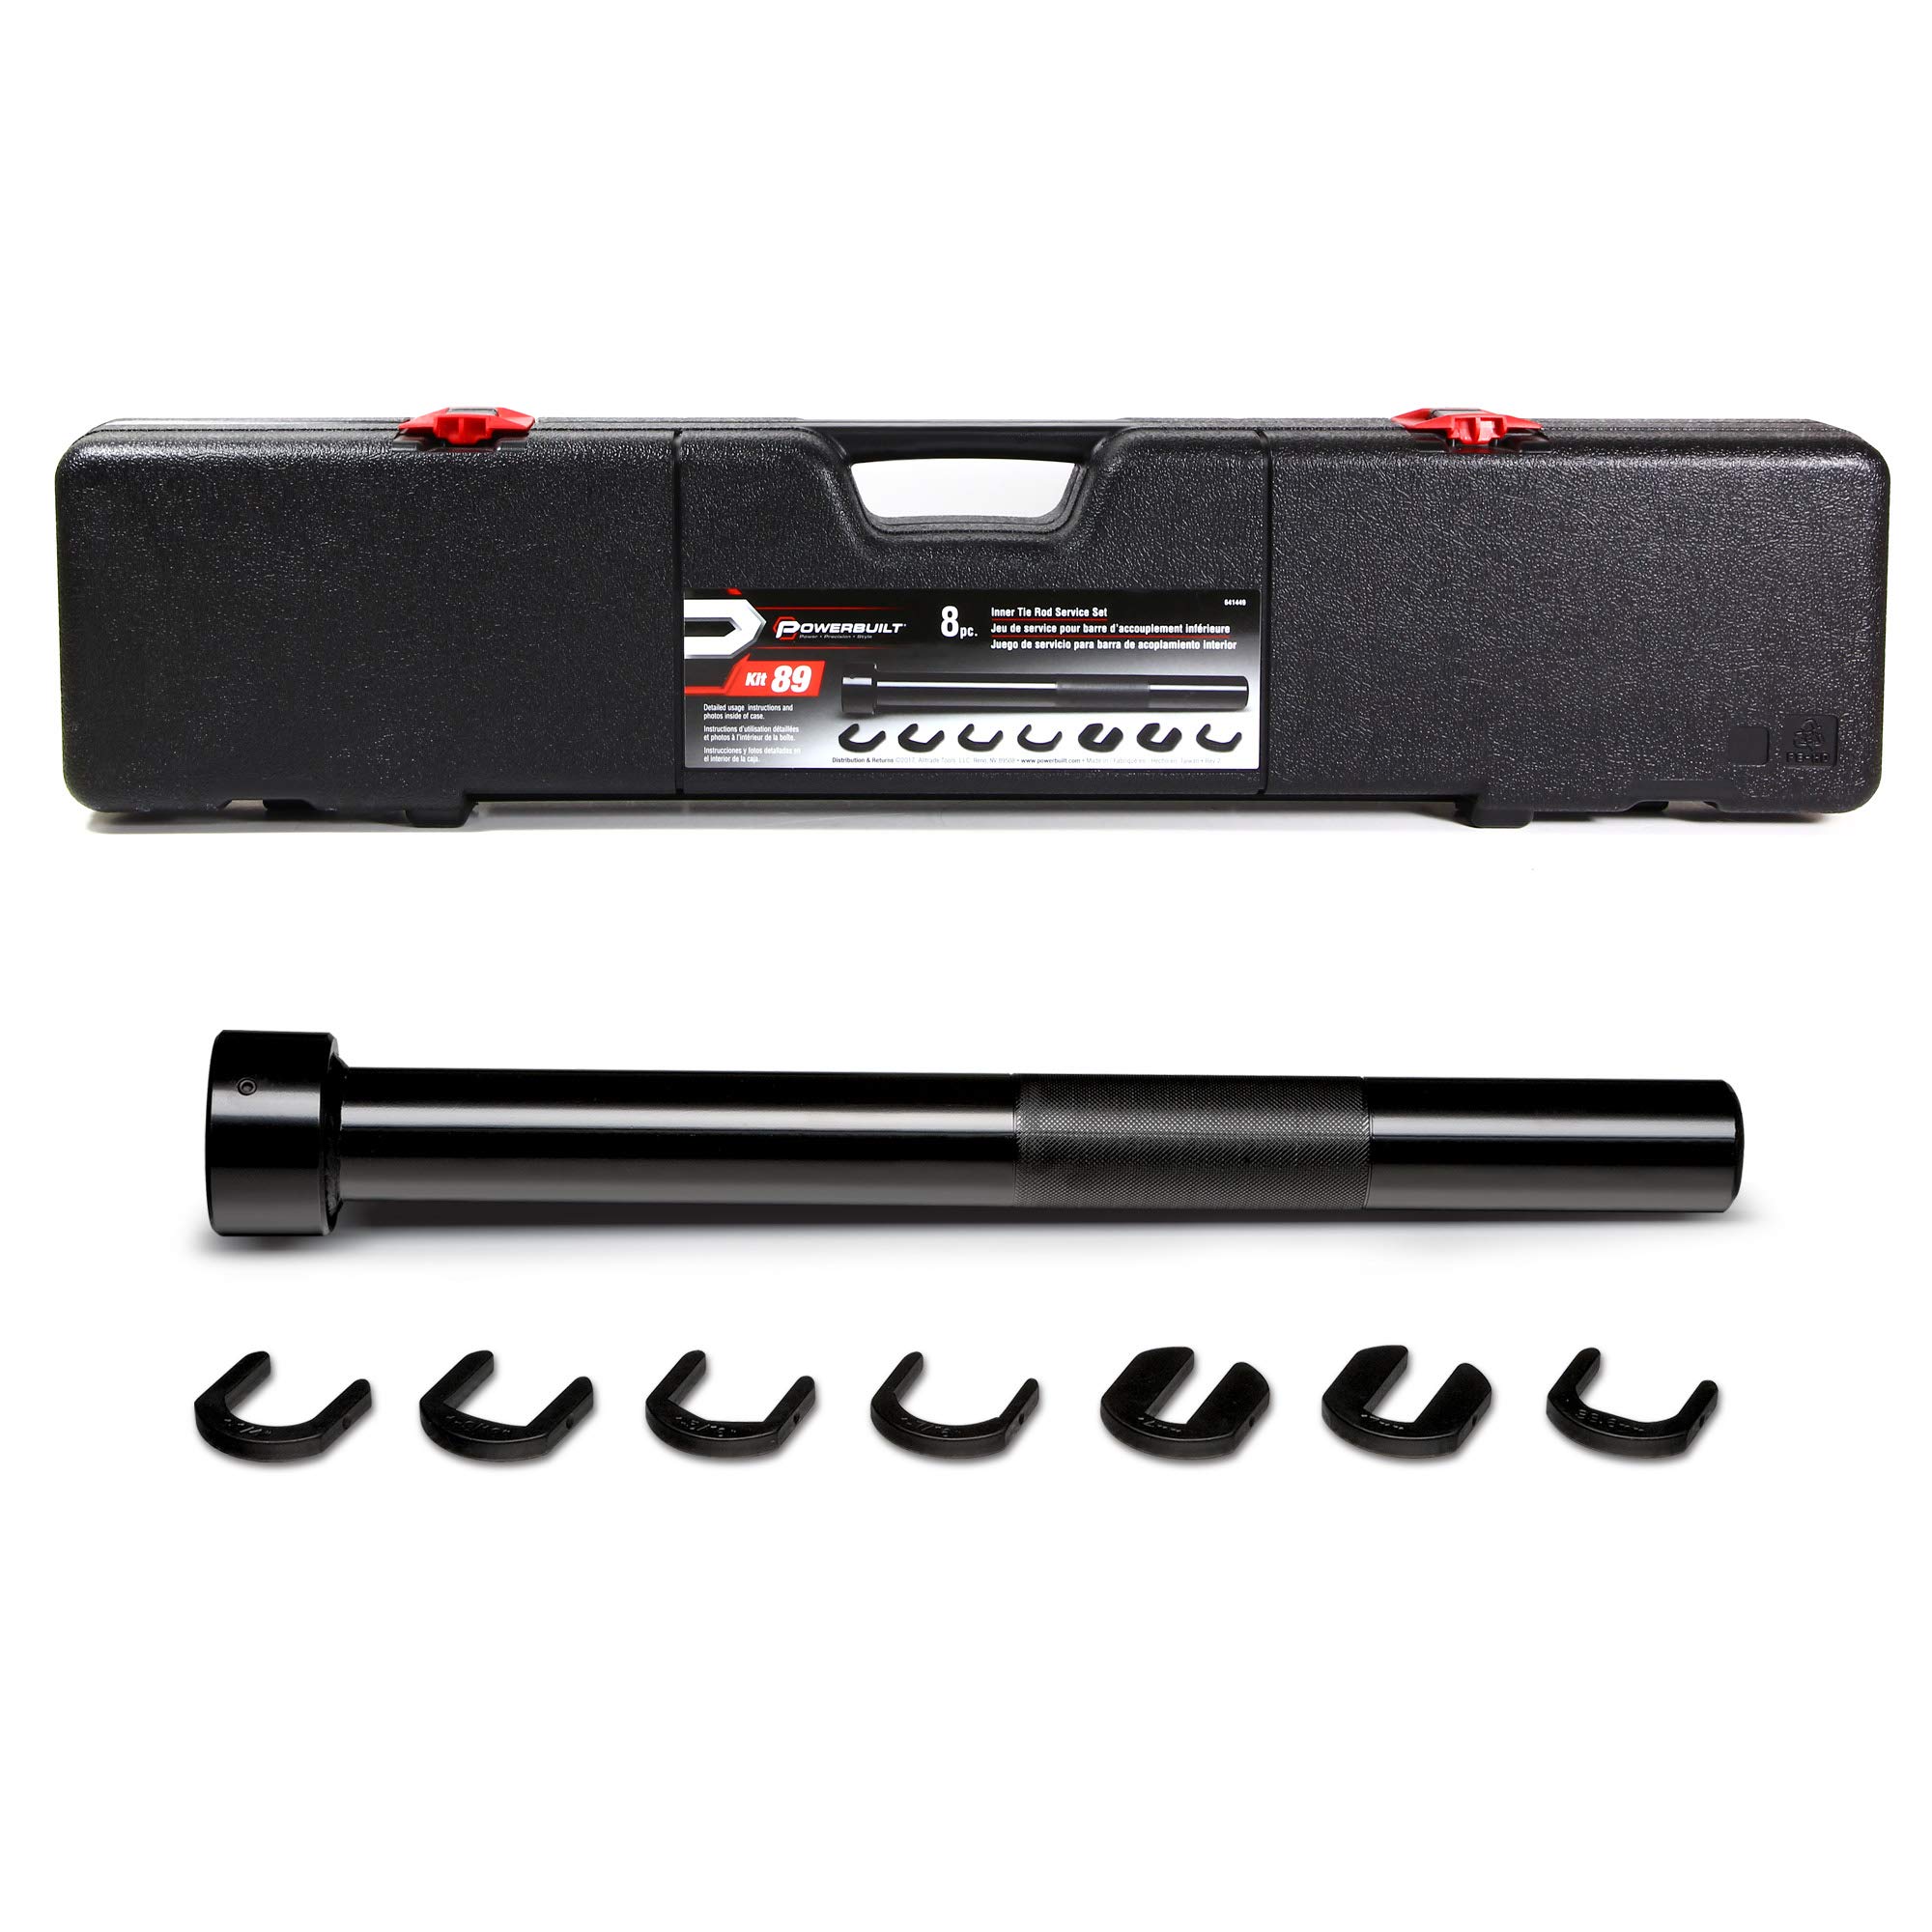
BulletPoint1 : For removing hard-to-reach inner tie rods on popular trucks and SUVs without removing rack and pinion steering
BulletPoint2 : Sizes: 1-7/16-in, 1-1/4-in, 1-5/16-in, 1-7/16-in, 14mm, 17mm and 33.6 mm.
BulletPoint3 : Meets or exceeds ANSI standards
BulletPoint4 : Designed for removing hard-to-reach inner tie rods on popular trucks and SUVs
BulletPoint5 : Remove inner tie rods without removing rack and pinion steering
BulletPoint6 : 8 piece set includes sizes: 1-7/16", 1-1/4", 1-5/16", 14mm, 17mm, and 33.6mm
Color : Black
CompatibleFastenerDescription : Standard bolts of sizes 1-3/16", 1-1/4", 1-5/16", 1-3/8", 1-7/16", 1-1/2" (SAE), 29mm, 32.5mm, 33.6mm (Metric)
CustomerPackageType : Standard Packaging
DriveSystem : 1/2 inch drive
ExternallyAssignedProductIdentifier1 : 028907361505
ExternallyAssignedProductIdentifier2 : 0028907361505
ExternallyAssignedProductIdentifier3 : 00028907361505
FinishType : Unfinished
FitType : Universal
GpsrSafetyAttestation : 1
IncludedComponents : 8 Piece Inner Tie Rod Service Set
IsAssemblyRequired : 1
ItemDisplayDimensions_Height : 0.38 inches
ItemDisplayDimensions_Length : 4 inches
ItemDisplayDimensions_Width : 3.75 inches
ItemDisplayWeight : 0.19 pounds
ItemName : Powerbuilt Inner Tie Rod Kit, Install and Remove Tie Rods, Tool Set Services Vehicles, Trucks, SUVs, Storage Case - 641449
ItemPackageDimensions_Height : 74.93 centimeters
ItemPackageDimensions_Length : 8.382 centimeters
ItemPackageDimensions_Width : 17.78 centimeters
ItemPackageQuantity : 1
ItemTypeKeyword : automotive-steering-tie-rod-ends
Manufacturer : Powerbuilt
Material : Carbon Steel
Material1 : chrome plated
Material2 : carbon steel
Material3 : steel
ModelName : 641449
ModelNumber : 641449
NumberOfBoxes : 1
NumberOfItems : 1
NumberOfPieces : 9
PackageLevel : unit
PartNumber : 641449
PartTypeId : 15731681
ProductDescription :
Features:
Effortless Press Fit Part Removal: weyleity's Ball Joint Press Kit makes removing ball joints, U-joints, and brake anchor pins a breeze, all without disassembling your vehicle's control arm. Get the job done efficiently.
Premium Quality: Trust in the strength of our heavy-duty forged steel components with a corrosion-resistant black-oxide finish. Our kit is built to last, resisting rust and wear for long-lasting use.
Wide Compatibility: Our kit is universally compatible with a broad range of 2WD and 4WD cars and light pickup trucks.
Organized and Portable: Keep your tools organized in the custom-molded carrying case. Measuring 11"" x 3"" x 15"" (27.9cm x 7.6cm x 38.1cm), it's designed for easy and safe storage, ensuring your tools are always at your fingertips.
Package List:
1 x Receiving Tube(2-1/4"" L x 2.723""I.D. X 3"" O.D.)
1 x Receiving Tube(1-3/4"" L x 2-1/4""I.D. X 2-1/2"" O.D.)
1 x Receiving Tube(1-3/4"" L x 1-3/4""I.D. X 2"" O.D.)
1 x Installation Adapter(1.122"" L x 0.941""I.D. x 3"" O.D.)
1 x Removal Adapter(1.148"" L x 1/2"" I.D. x 3"" O.D.)
1 x Jackscrew
1 x Install Cup Adapter(0.845"" L x 1.879"" I.D. x 2-1/4"" O.D.)
1 x Ball Joint Press
1 x Reciving Cup(2-1/2"" L x 2"" I.D. x 2-1/4"" O.D.)
1 x Installing Cup (3.676"" L x 1-3/4"" I.D. x 2""O.D.)
Instructions for use:
Install Ball Joint: 1.Thoroughly clean and lubricate the interior diameter of the control arm. 2.Carefully insert the replacement ball joint directly into the control arm. 3.Assemble the ball joint press onto the control arm. 4.Align the appropriate-sized receiving tube atop the control arm. 5.Position the installation adapter between the receiving tube and the ball joint press. 6.Insert the Removal Adapter between the ball joint and the Jackscrew. 7.Verify the alignment of all components within the ball joint kit. 8.Gradually tighten the Jackscrew until the vehicle's ball joint is successfully removed.
Remove Ball Joint: 1.Set up the ball joint press above the control arm. 2.Place the appropriately sized receiving tube below the ball joint. 3.Insert the removal adapter between the receiving tube and the Jackscrew. 4.Position the installation adapter between the upper part of the ball joint and the ball joint press. 5.Gradually tighten the Jackscrew until the receiving tube makes contact with the control arm. 6.Ensure that all components are correctly aligned. 7.Continue to tighten the Jackscrew to facilitate the removal of the ball joint.
Remove and Install Brake Anchor Pins: To Remove Brake Anchor Pins: 1.Eliminate all lock ring retainers from the brake anchor pins. 2.Place the ball joint press above the brake spider. 3.Gradually tighten the Jackscrew until the anchor pins become removable. To Insatall Brake Anchor Pins: 1.Insert the brake anchor pins. 2.Reinstall the lock ring retainers on the brake anchor pin.
Disassemble and Assemble U Joint: To Disassemble U Joint: 1.Eliminate both the outer and inner locking rings. 2.With the ball joint secured around the driveshaft yoke, tighten the jack screws until the first bearing is extracted. 3.Adjust the position of the ball joint press and remove the second bearing. To Assemble U Joint: 1.Thoroughly clean any dirt and grease from the yoke area. 2.Align the replacement bearing and the ball joint press directly over the yoke. Press the replacement bearing into the yoke and then reassemble the outer and inner lock ring. 3.Reposition the ball joint press and the second replacement bearing on the yoke to ensure the bearing is aligned as accurately as possible, and then press the bearing into the yoke. 4.Reassemble the outer and inner locking rings.
ProductSiteLaunchDate : 2020-07-13T10:23:56.259Z
Size : 8 Pc.
StreetDate : 2014-10-10T00:00:01Z
Style : 8 Piece
SupplierDeclaredDgHzRegulation : not_applicable
SupplierDeclaredHasProductIdentifierExemption : 1
UnitCount : 1
UnspscCode : 25170000
WarrantyDescription : 2 year manufacturer